Blog
How to Make the Perfect Soil Mix for Your Raised Garden Bed
Right Then, Let’s Talk About Soil for Your Raised Beds
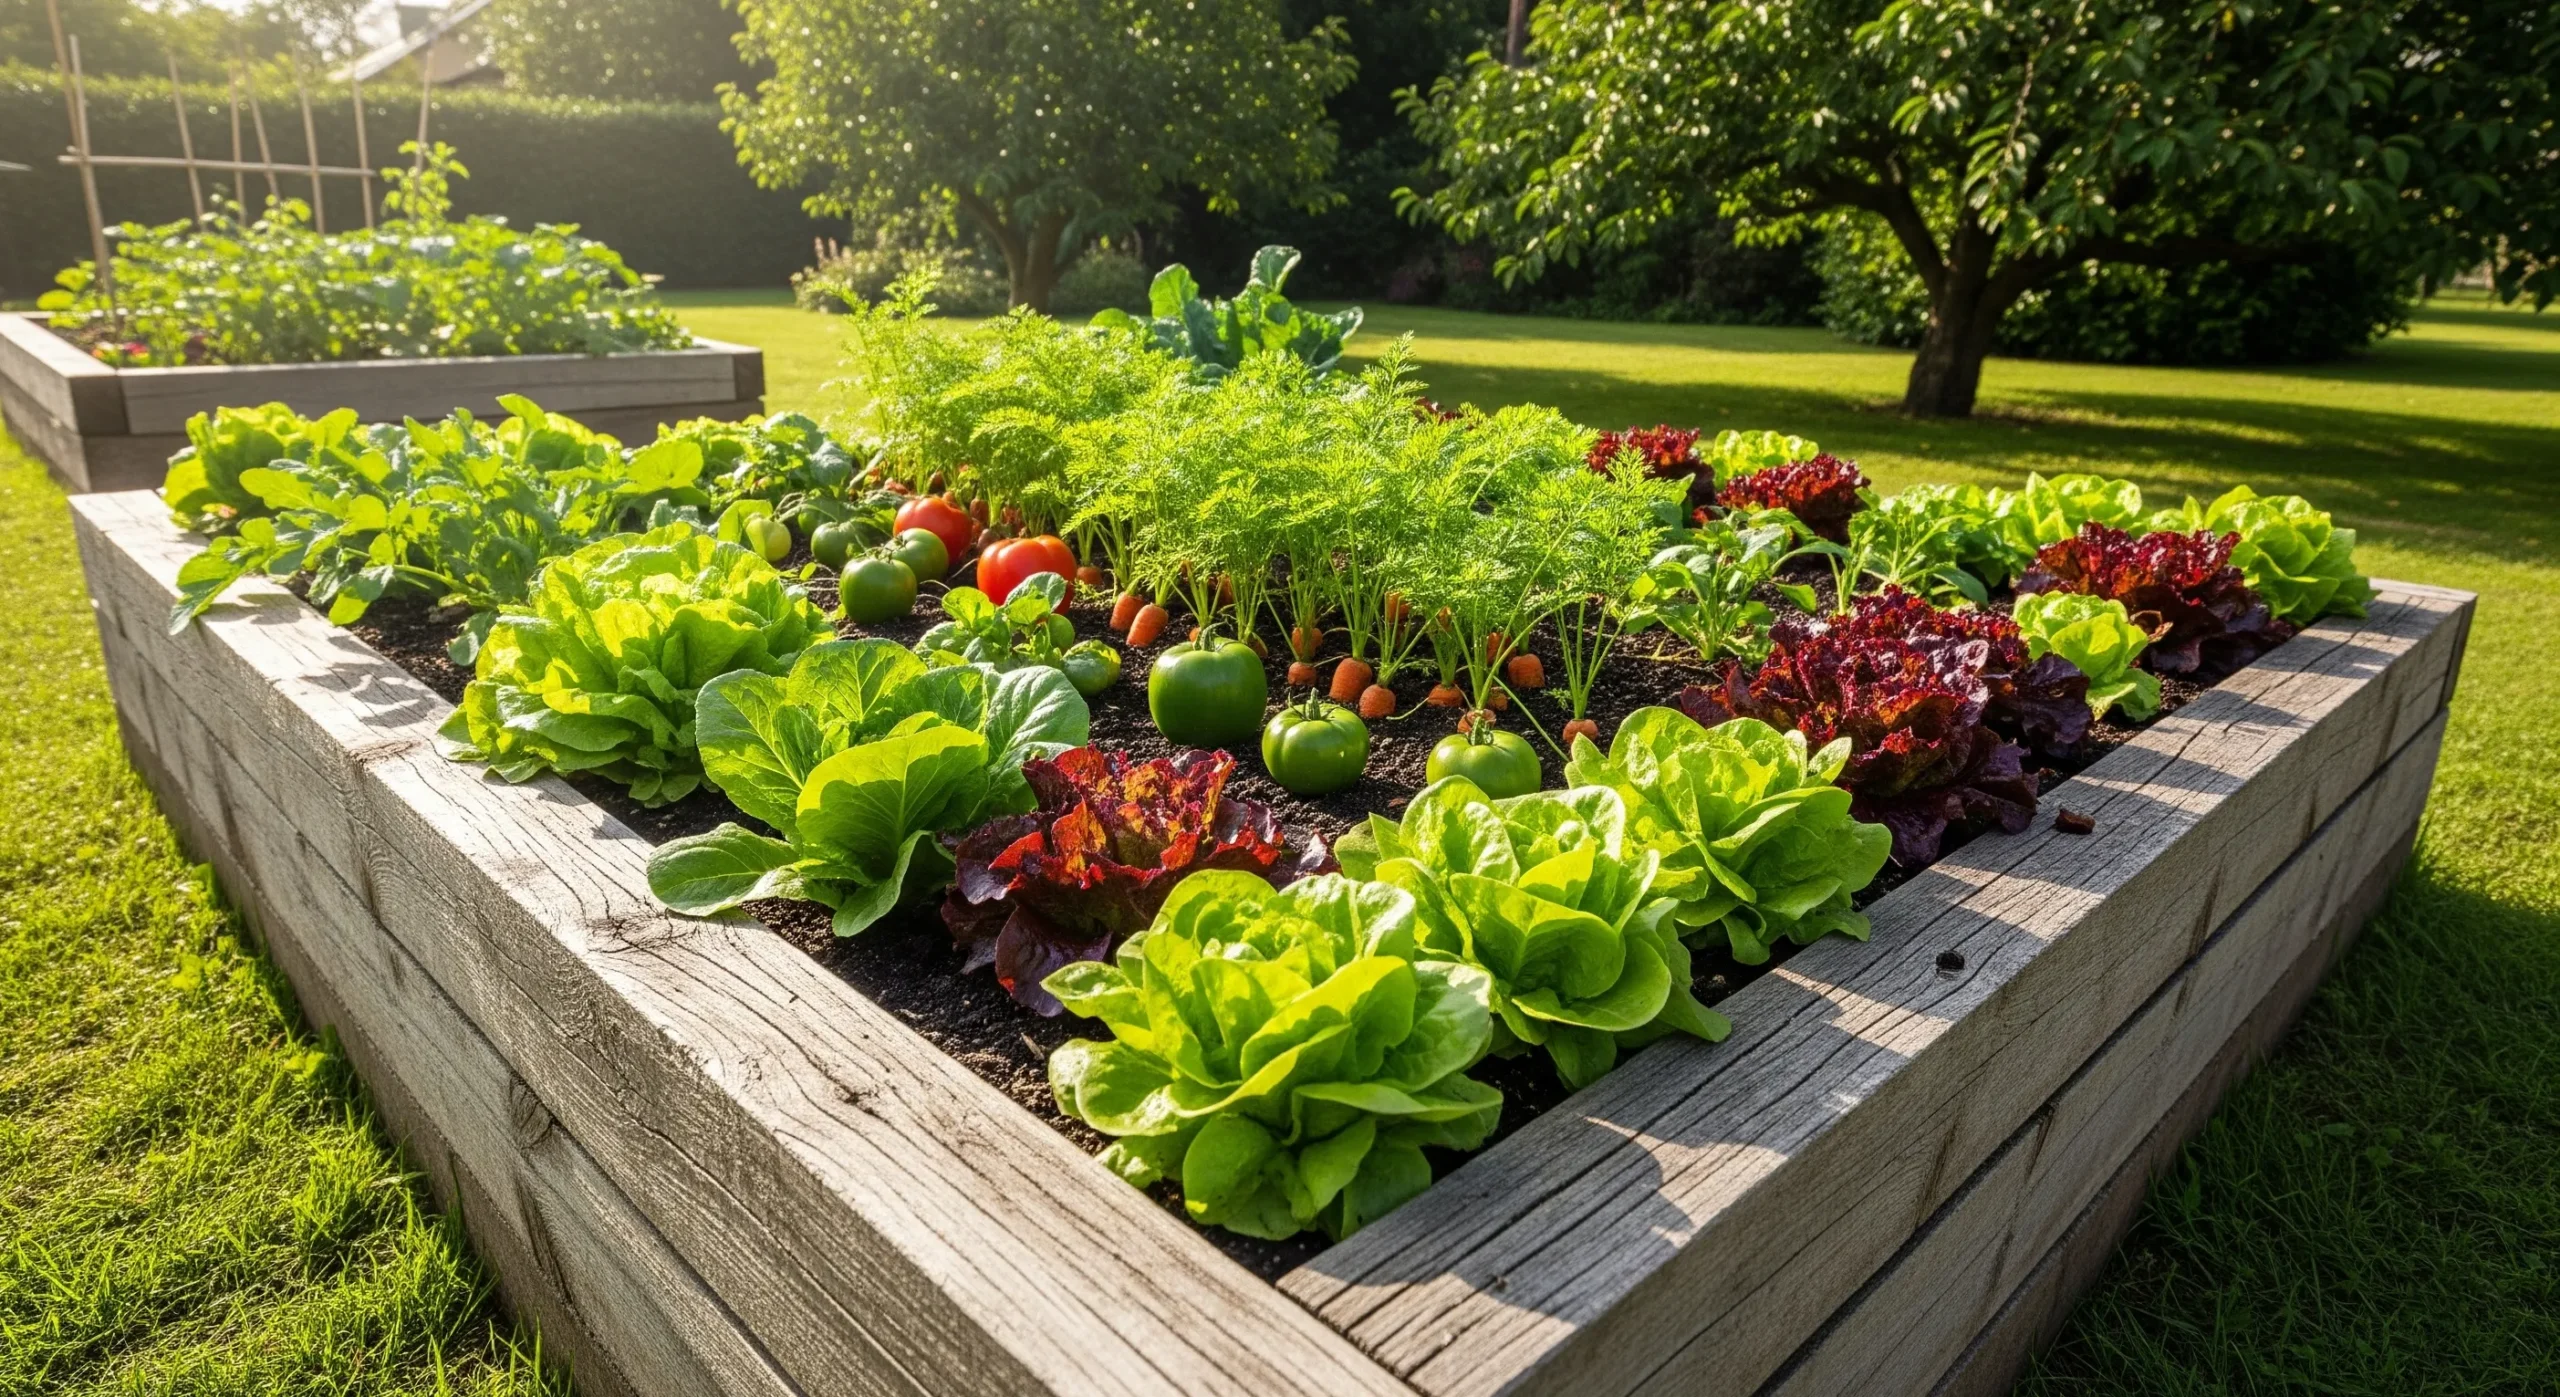
Ah, the raised bed. A noble ambition for any garden. You picture it, don’t you? You see yourself as the king or queen of your own little patch, proudly harvesting armfuls of lush lettuces and carrots that actually look like carrots. It’s a beautiful timber frame, a neat and tidy solution to growing your own, brimming with potential.
But there’s a catch. A few months down the line, that dream can look a bit… sad. Instead of a bountiful harvest, you have a few spindly plants that look like they’ve given up on life. What went wrong? Nine times out of ten, the culprit is hiding in plain sight. It’s the soil.
Getting the foundation right inside that frame is the single most important job. The good news is that creating the perfect raised garden bed soil isn’t some mystical art. It’s actually wonderfully simple. In this guide, we’ll give you the straightforward, no nonsense recipe for a mix that will have your plants thriving. Let’s get our hands dirty.
Why You Can’t Just Shovel in Soil from the Garden
Okay, let’s address the elephant in the garden. You have a brand new, empty raised bed, and just next to it… a whole garden full of soil. It’s free, it’s right there, and it seems like the most logical thing in the world to just transfer some from one spot to the other. I get it, I really do. But please, for the love of future you, step away from the spade.
Your garden soil might be brilliant in its natural home, but it’s part of a complex system. When you dig it up and confine it within the wooden walls of a raised bed, it behaves very differently. The biggest problem is compaction. The soil you have in your garden is likely heavy, probably with a fair bit of clay. In the ground, earthworms and microscopic life are constantly tunnelling through it, keeping it structured. Once it’s in a bed, it settles. And settles. And before you know it, you have a container full of what feels like a solid brick. Plants find it incredibly difficult to push their roots through that.
This leads to the next issue, drainage. Or rather, a lack of it. That compacted soil doesn’t let water pass through easily. After a good downpour, your bed can turn into a bit of a swamp, leaving your plant roots sitting in water. Most vegetables and flowers absolutely hate having wet feet, so waterlogged roots are a surefire way to invite disease and failure. The ideal soil for raised beds needs to be much lighter and drain more freely.
Finally, your garden soil is already a thriving metropolis. It contains a huge bank of dormant weed seeds just waiting for their moment in the sun. By transferring it, you’re basically giving them a VIP invitation to your lovely new bed. You’ll spend the whole season plucking out dandelions and couch grass instead of enjoying your crops. It’s much, much easier to start with a clean slate.
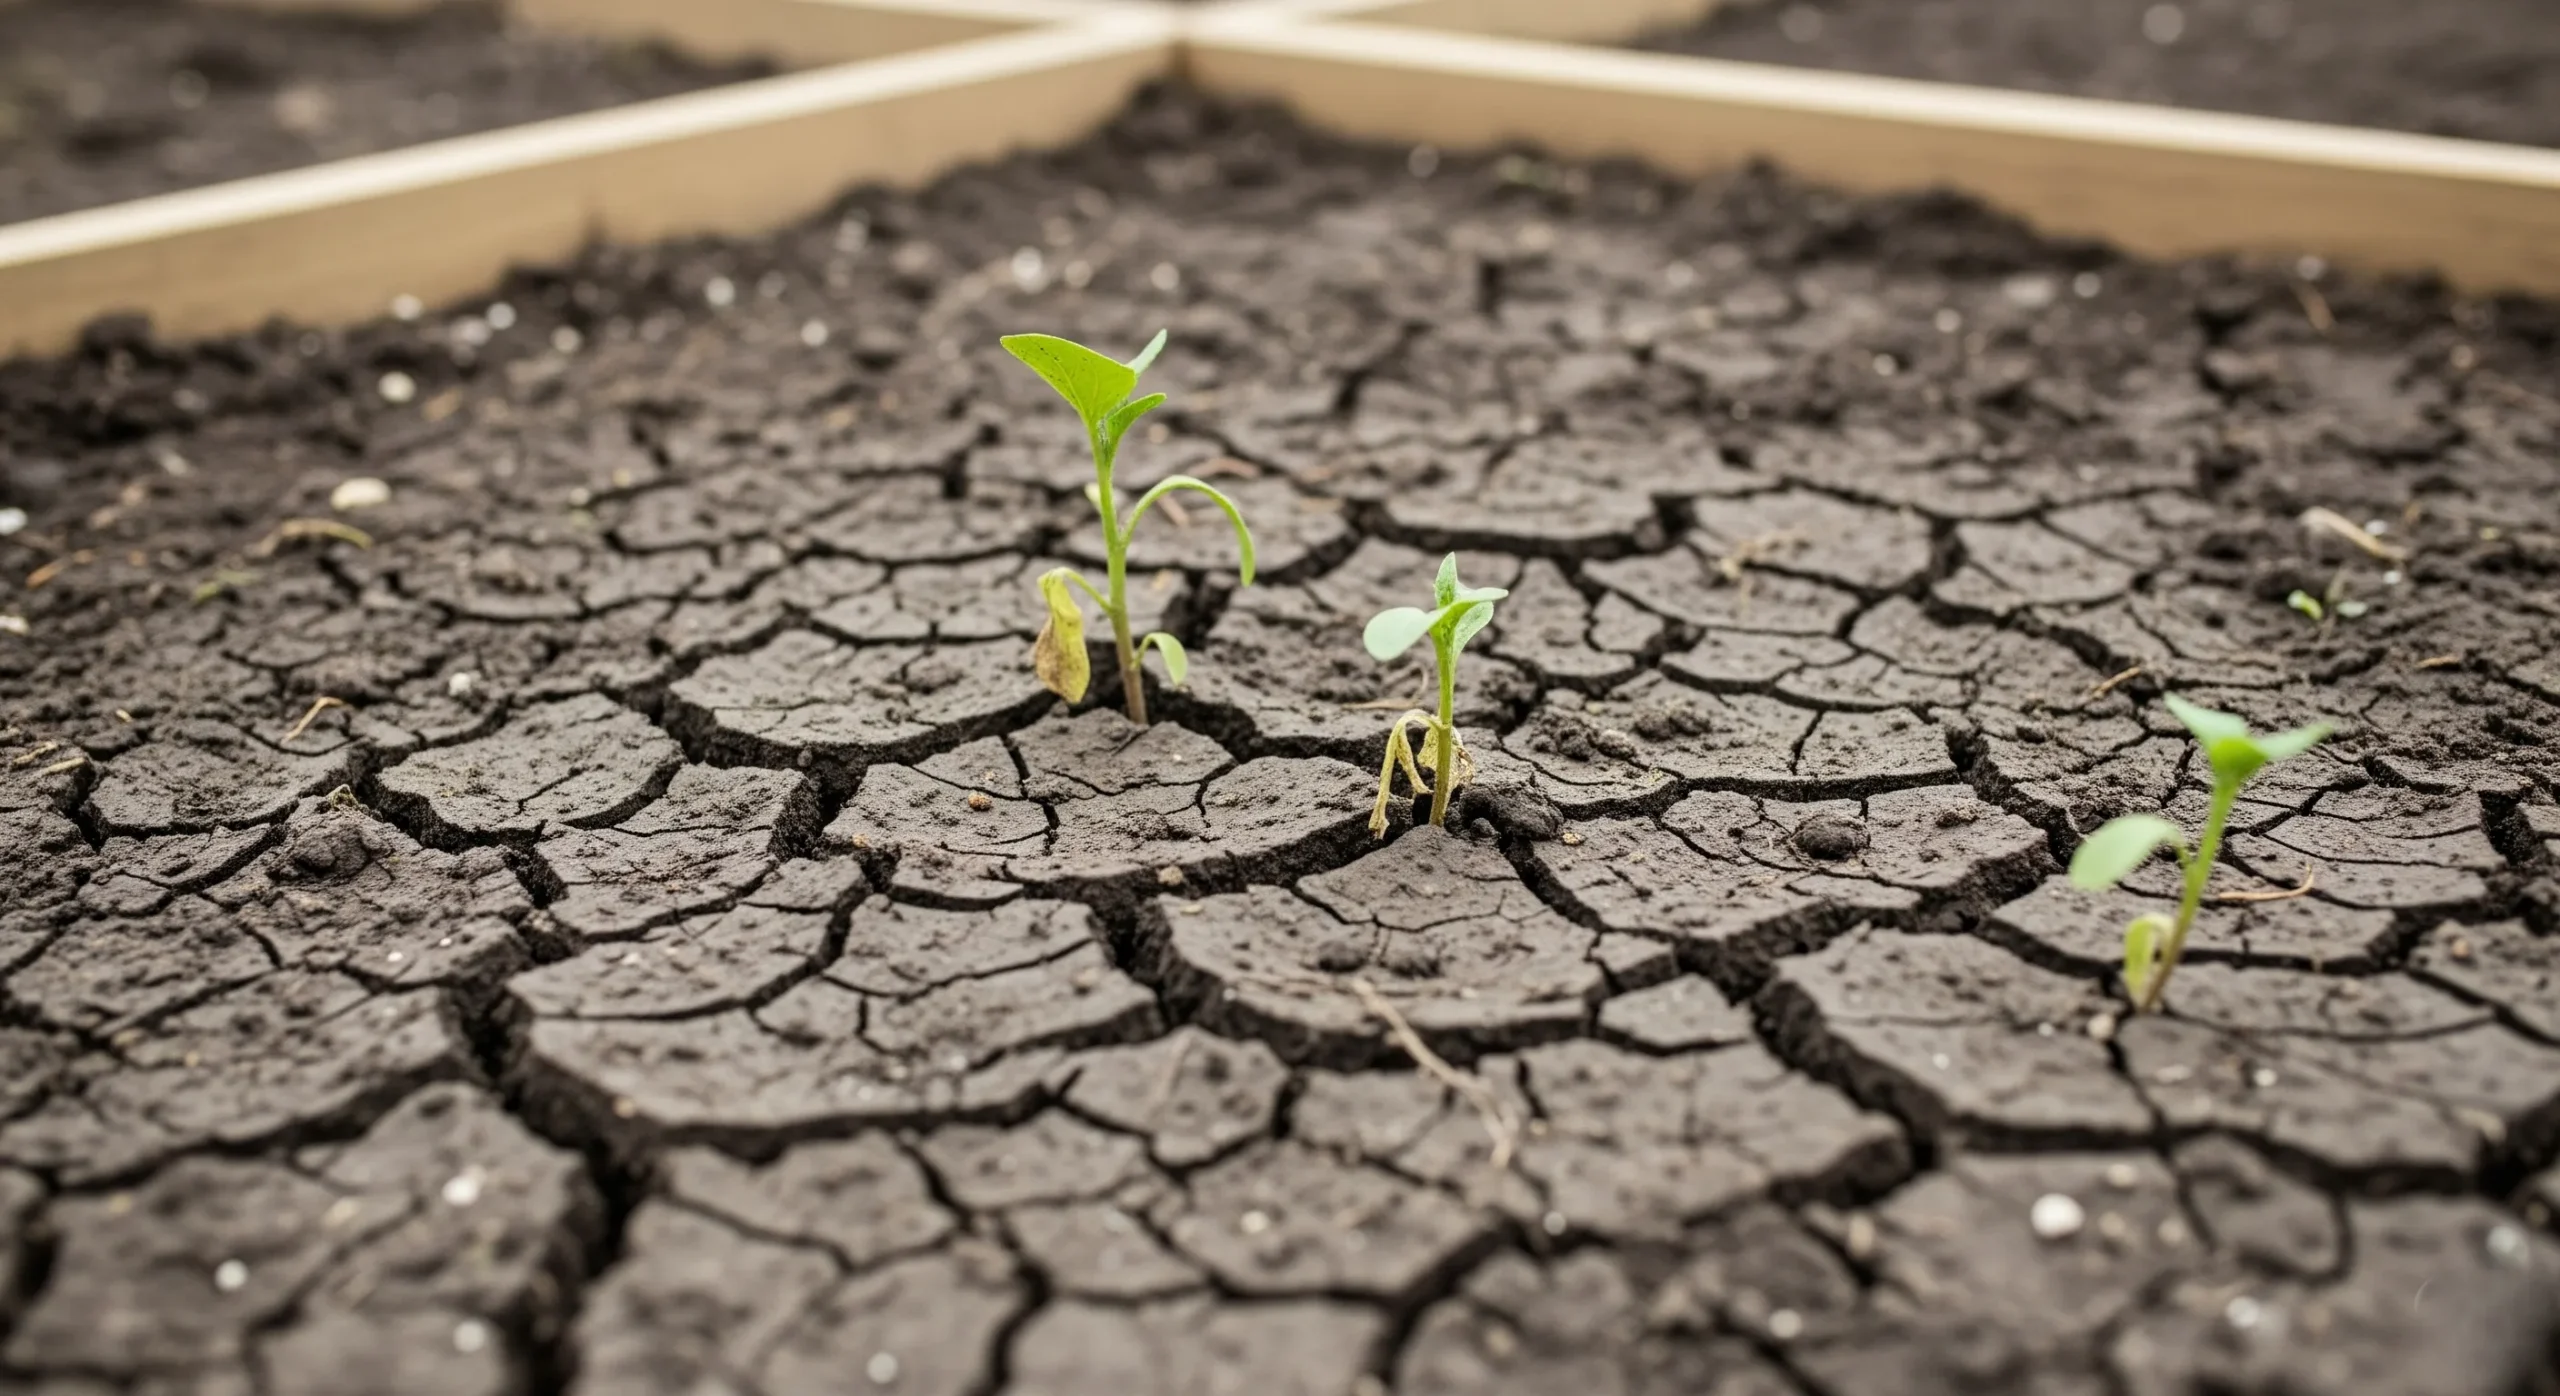
Compacted soil like this prevents roots from getting the oxygen and water they need to thrive.
The Holy Trinity: Your Perfect Raised Bed Soil Mix
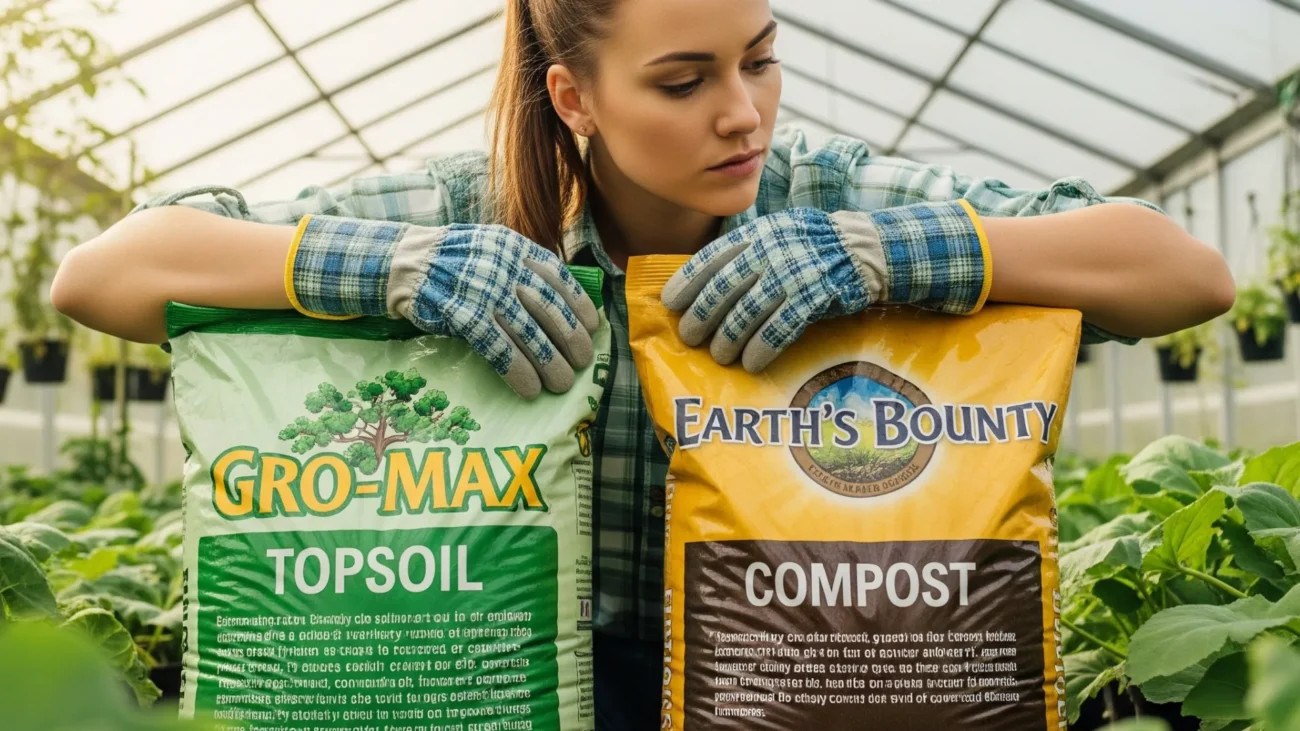
So if you can’t use soil straight from the garden, what should you use? The secret to a brilliant raised bed soil isn’t a single magic ingredient, but a simple blend of three key players. Think of them as a team. Get the balance right between them, and you create a growing medium that is far better than the sum of its parts. It’s worth spending a moment understanding the difference between topsoil and compost, because each part of this trinity has a distinct and vital job to do.
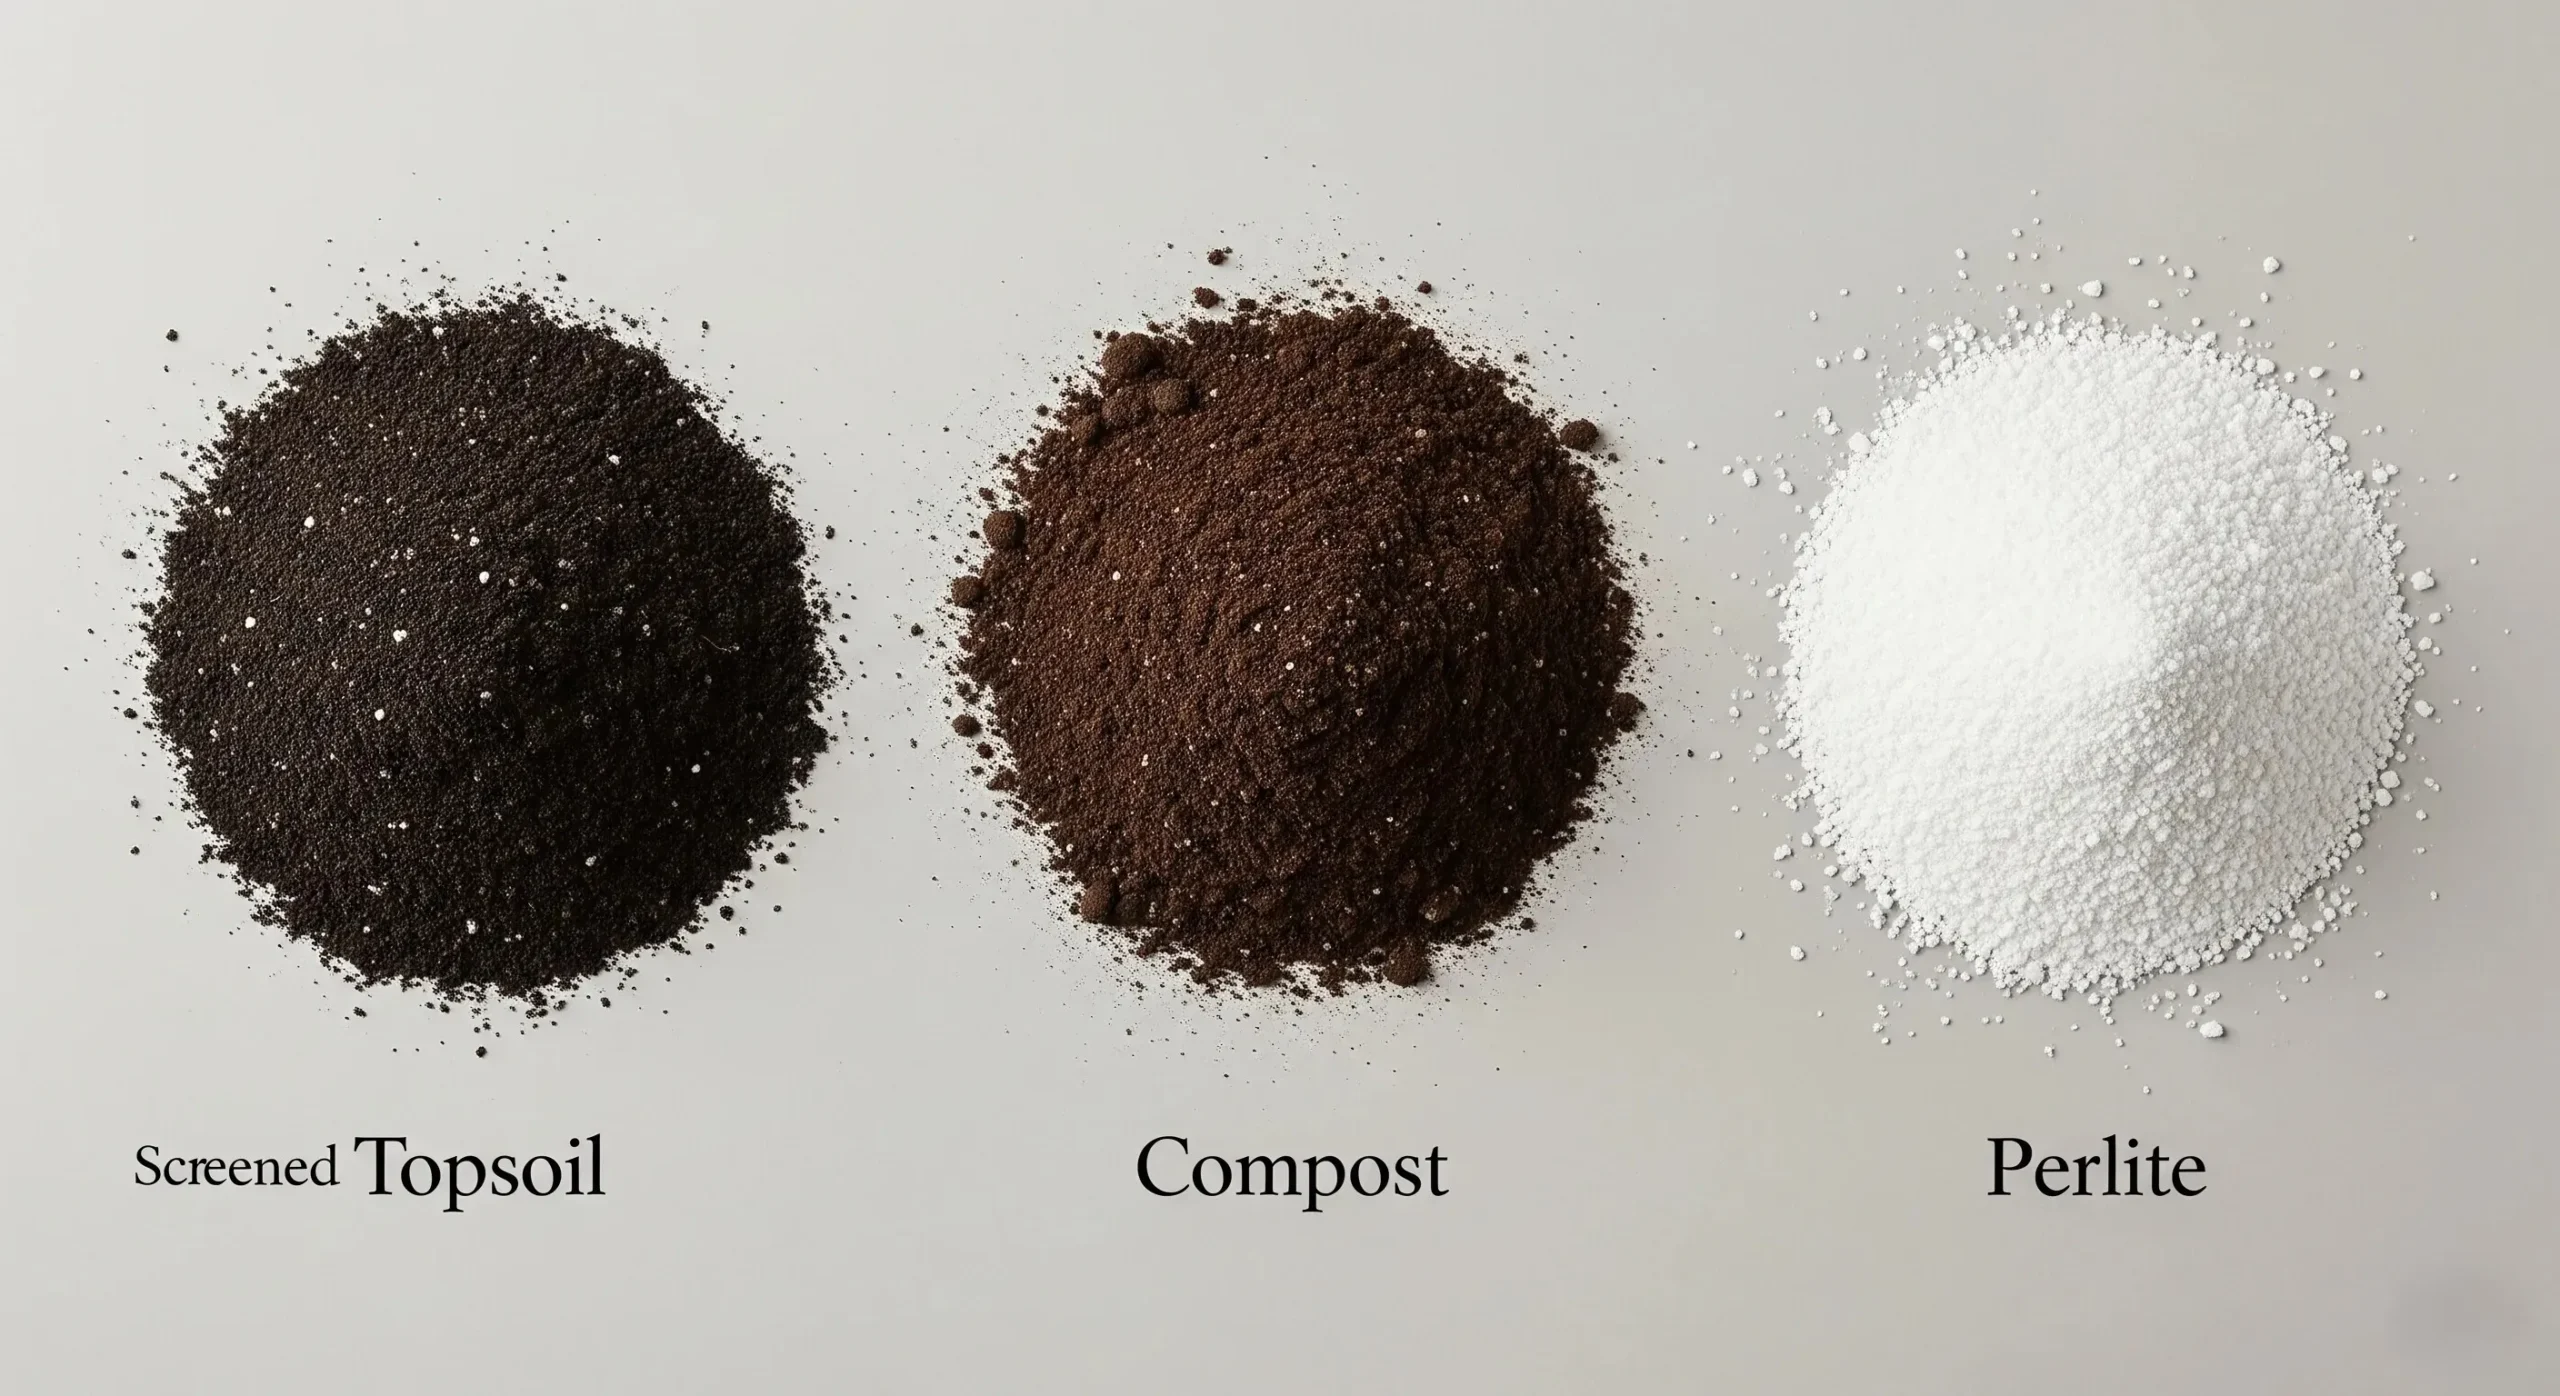
The three key ingredients for the perfect raised bed mix. Topsoil provides structure, Compost delivers nutrients, and Perlite creates aeration and drainage.
Ingredient 1: Topsoil (The Solid Foundation)
This is the base of your operation. The topsoil provides the bulk and the structure for your mix, giving your plant roots something substantial to anchor into. It contains the essential minerals that plants need and gives the whole mix that proper “soil” feel. You’re looking for a good quality screened topsoil here, one that is nicely graded and free from the big lumps, stones, and other debris you might find in cheaper options. Think of it as the solid, reliable foundation upon which everything else is built.
Ingredient 2: Compost (The Powerhouse)
If topsoil is the foundation, compost is the engine room. This is the life and soul of your raised bed soil mix. It’s the dark, rich, organic matter that is absolutely packed with the nutrients your hungry plants will feed on all season long. But it does more than just provide food. Compost is also a master of water management. It acts like a sponge, soaking up moisture and holding onto it, which means your beds won’t dry out the second the sun appears. It’s what makes your soil fertile and alive.
Ingredient 3: Aeration (The Breathing Room)
This is the ingredient that so many people forget. Plant roots need to breathe. Without a supply of oxygen, they will struggle and rot. The aeration component is all about creating thousands of tiny air pockets throughout the soil. This keeps the mix light and fluffy, prevents that brick like compaction we talked about, and guarantees the brilliant drainage that soil for raised beds absolutely must have. Common materials for this job include perlite, which are those little white polystyrene looking balls, vermiculite, or even some coarse horticultural sharp sand. A little goes a long way to keeping your soil from getting waterlogged.
The “Get It Done” Recipe for Your Raised Bed Soil Mix
Right, that’s the theory out of the way. You know the three key ingredients your raised bed is crying out for. Now, let’s get down to brass tacks and talk about how to combine them. You don’t need a set of kitchen scales or a chemistry degree, just a simple and reliable recipe that works every single time. This is the formula for the perfect raised bed soil mix that we swear by.
Use the same ‘part’ for measuring to keep the ratio consistent. Your ‘part’ could be a bucket, a shovel, or even a mug!
A Simple Formula That Just Works
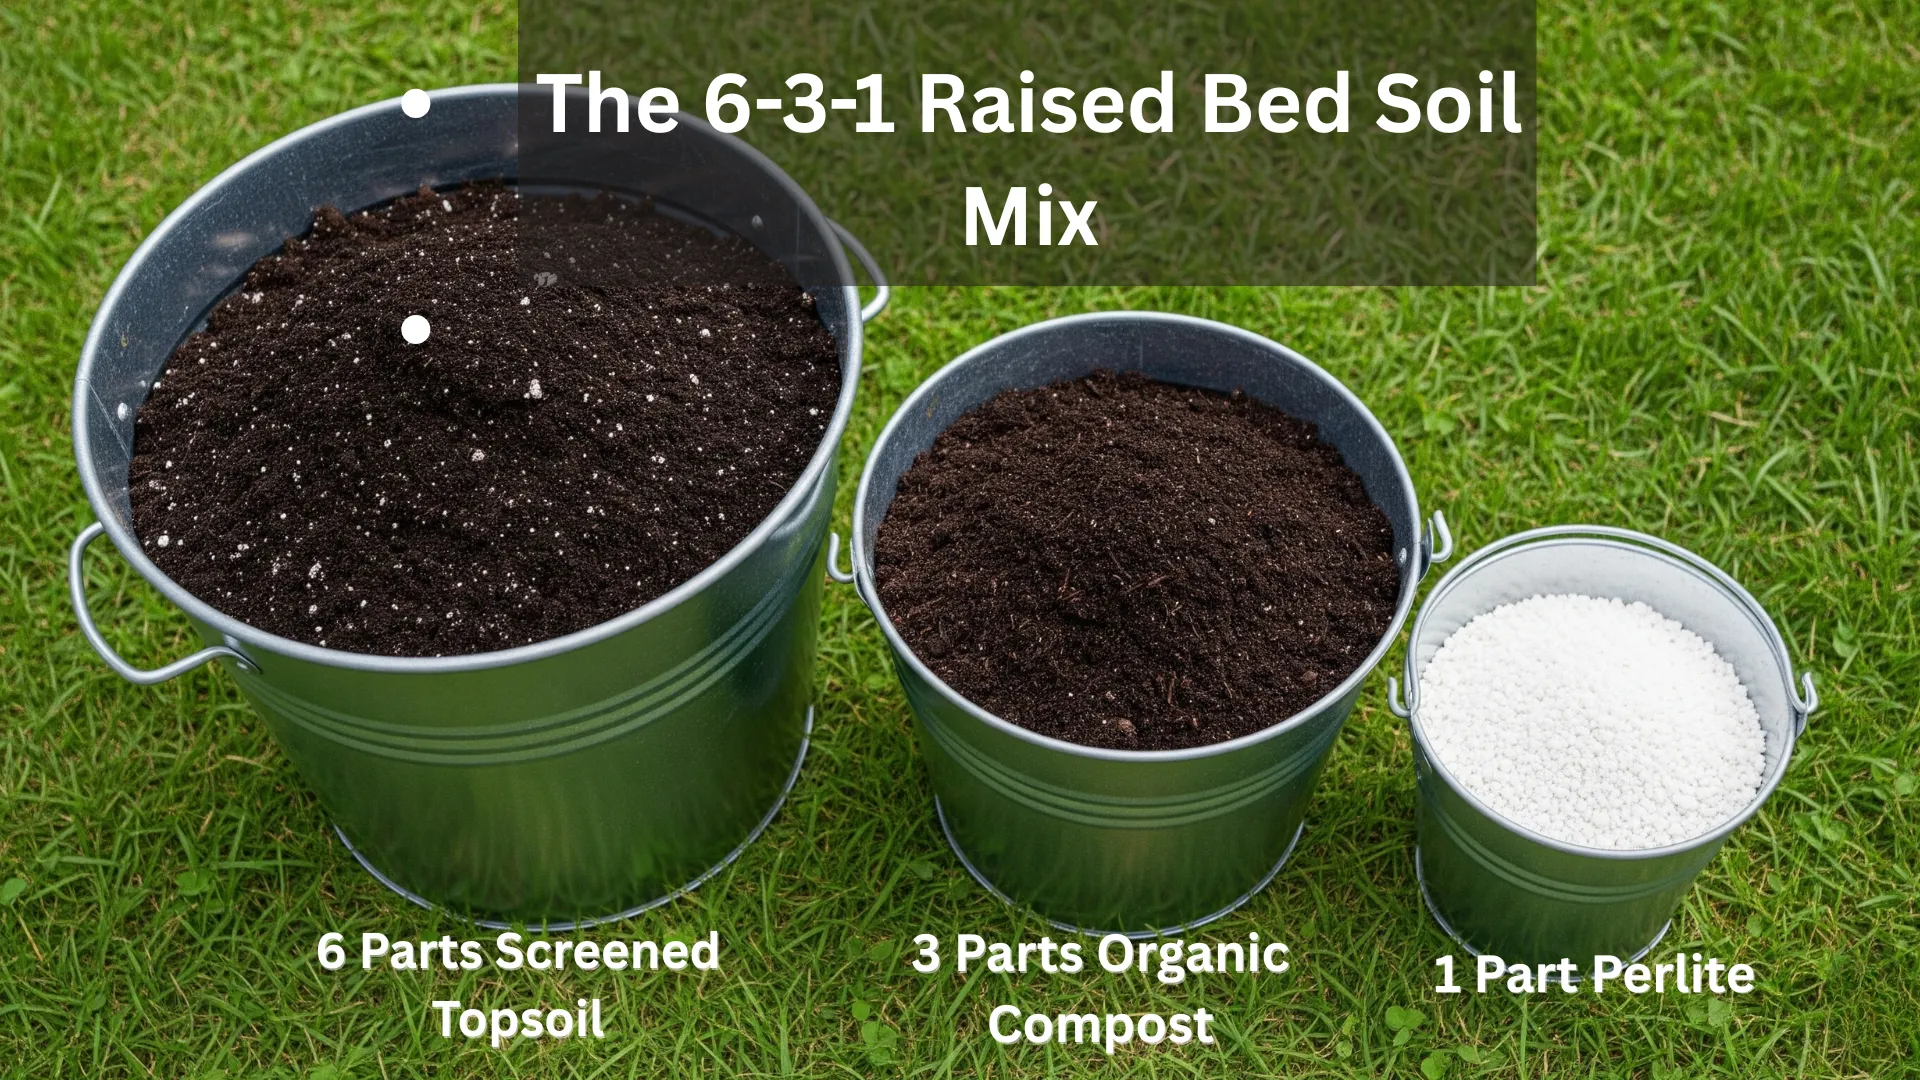
The most effective and straightforward recipe is a simple ratio. For a fantastic all purpose mix that will keep most vegetables and flowers happy, aim for this balance:
- 6 parts Topsoil
- 3 parts Compost
- 1 part Aeration Material (like perlite or sharp sand)
What do we mean by “parts”? It’s just a way to keep the ratio consistent, no matter the size of your bed. A “part” could be a bucket, a shovel full, a wheelbarrow, or even a mug, as long as you use the same measure for all the ingredients. So, for every six buckets of topsoil you use, you’ll add three buckets of compost and one bucket of your aeration material. This formula gives you the perfect recipe: a soil with a solid structure, plenty of food, and drainage that drains beautifully.
How to Actually Mix It All Up
You’ve got your ingredients and your ratio, so how do you physically do the mixing? You have two main options, and both work well.
The Tarp Method: This is arguably the best way to get a completely uniform mix. Find yourself a large tarpaulin and lay it out on the lawn or driveway. Dump your ingredients onto the tarp in the correct ratio. Then, simply use a spade or shovel to turn it all over repeatedly, just like you were mixing a cake. Once it’s all a consistent colour and texture, you can shovel the finished mix into your raised bed. It’s a bit of extra work, but you know the job is done properly.
The Layer Method: If you’re short on space or want to do less heavy lifting, this is a great alternative. Simply add your ingredients directly into the raised bed in layers. For example, a few inches of topsoil, then a layer of compost, then a sprinkle of your aeration material, and repeat the process until the bed is full. Once it’s all in there, use a garden fork or spade to dig down and turn the layers over, mixing them together as thoroughly as you can. It can be a little harder to get the bottom corners mixed perfectly, but for most situations, it works a treat.
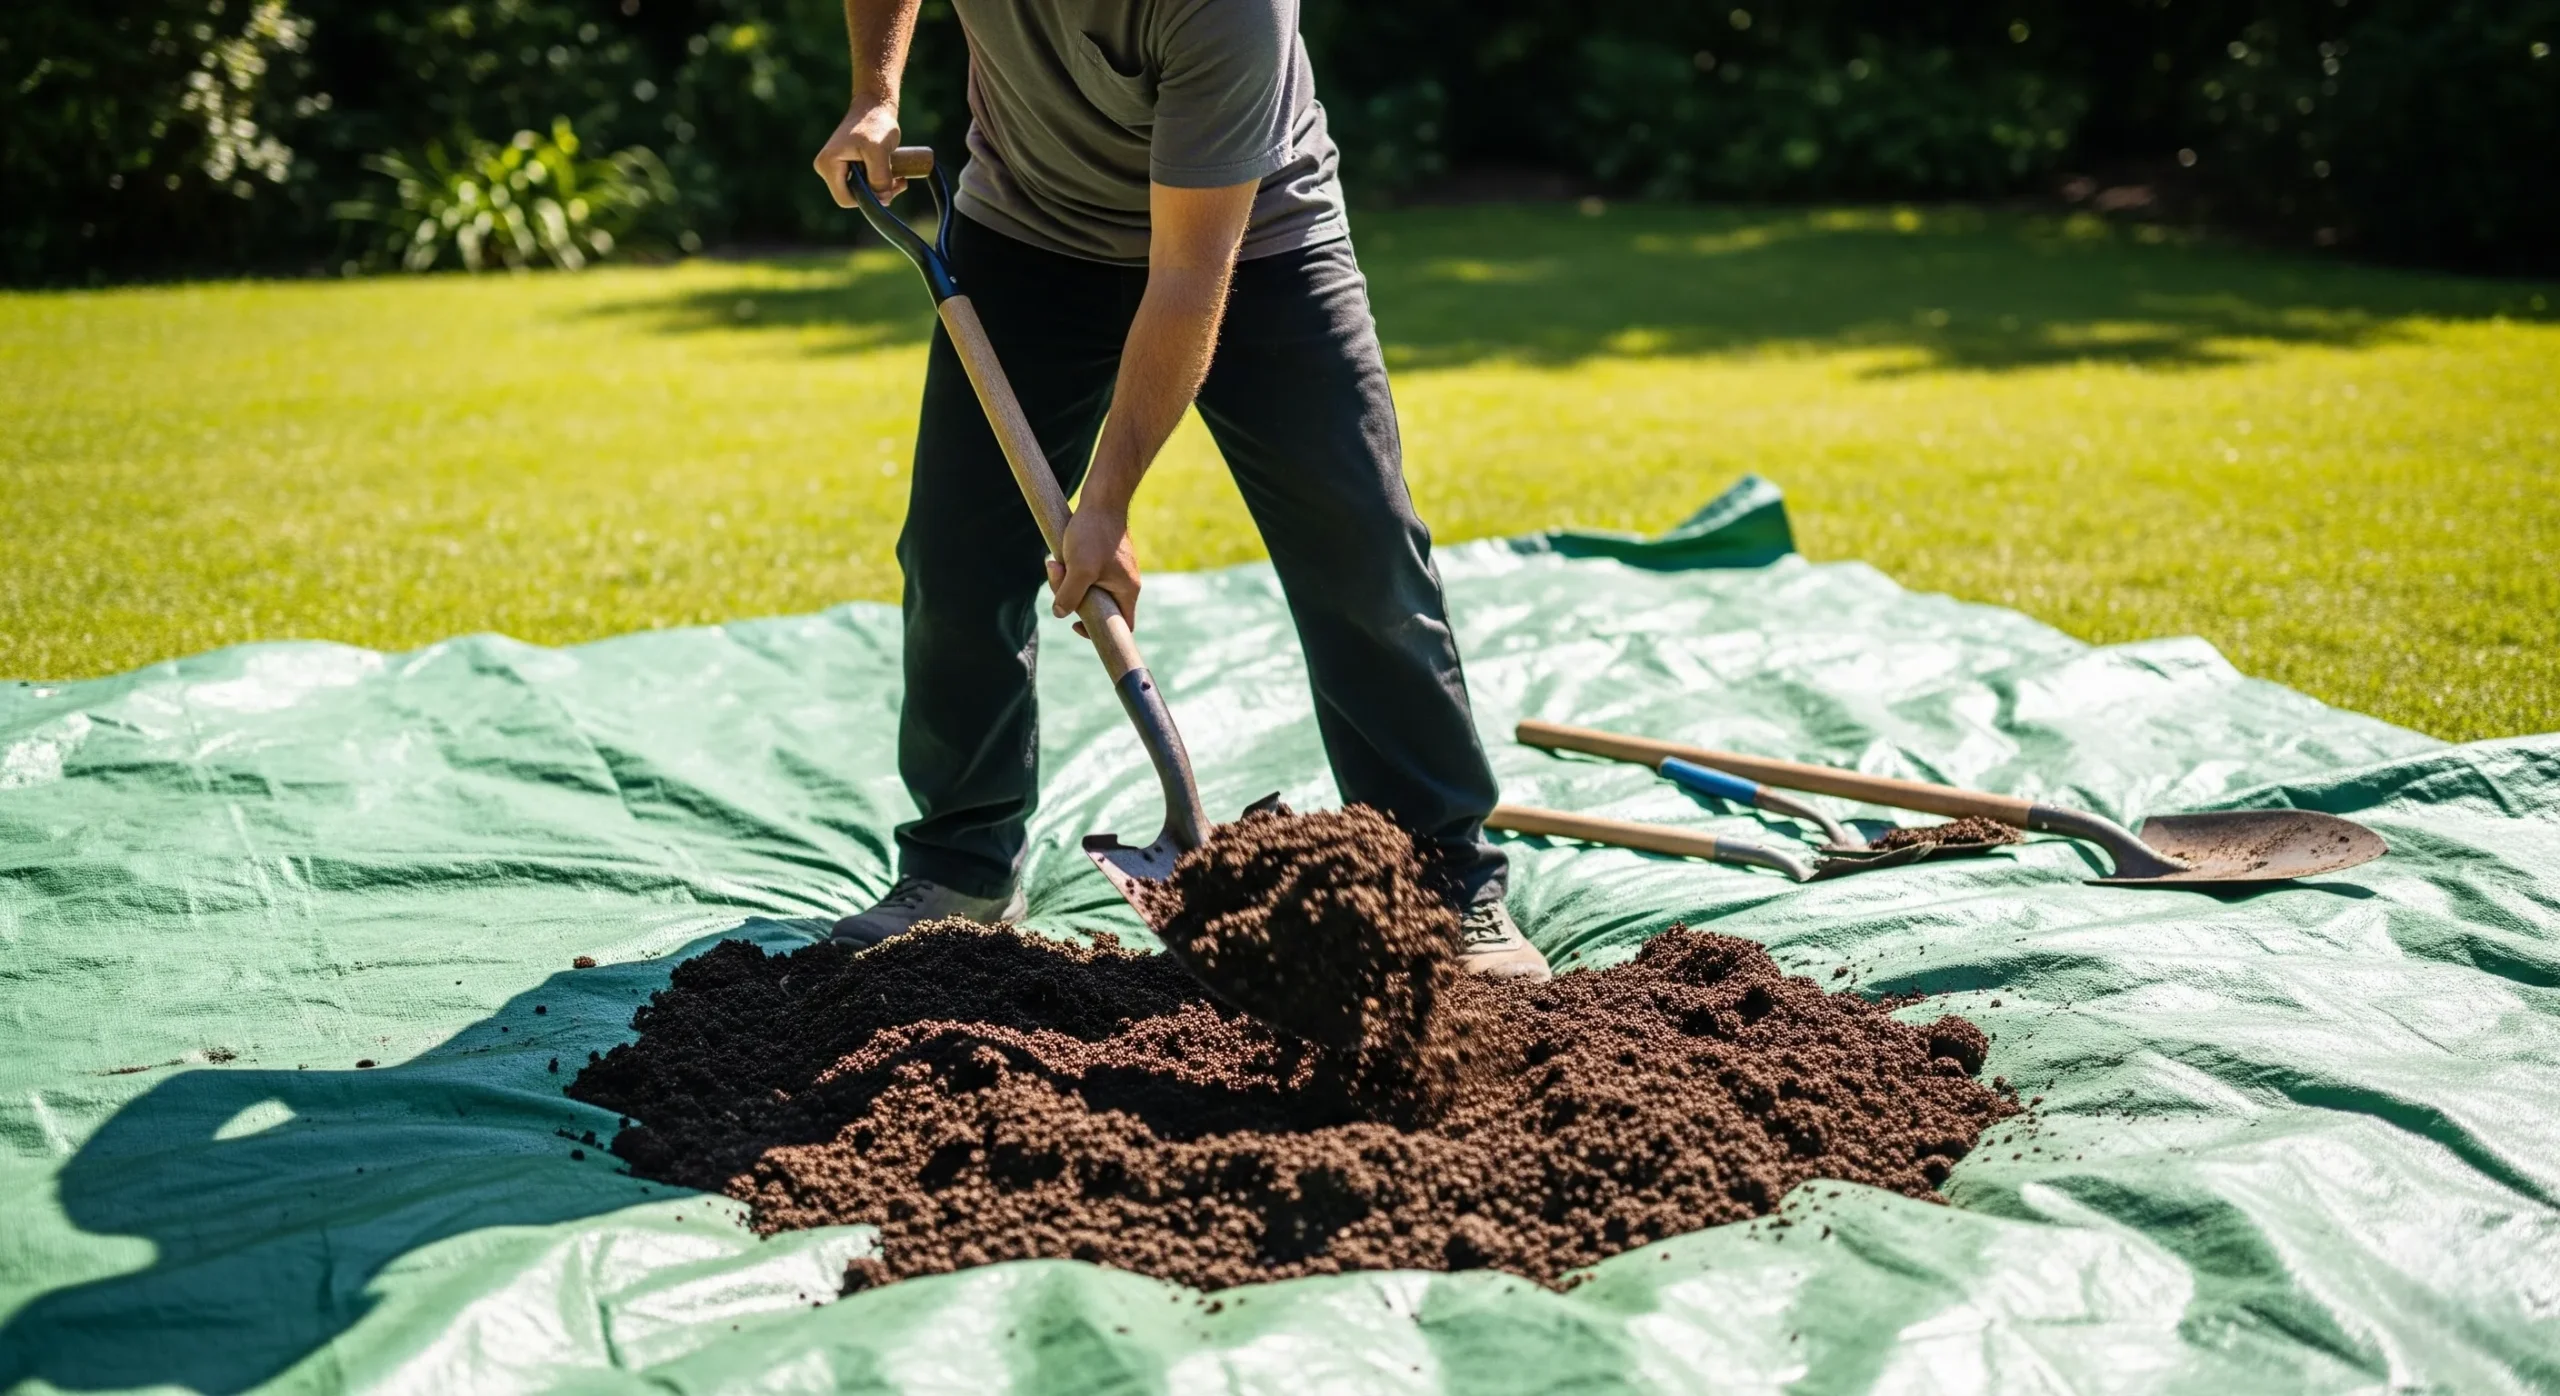
Using a large tarpaulin is a great way to protect your lawn and makes cleanup much easier once you’re done.
The Big Question: How Much Soil Do I Need?
This is the one question that can cause a bit of head scratching. You’re all fired up and ready to start mixing, but you pause, staring at your empty bed. How much stuff do you actually need to buy? Ordering too much leaves you with a mountain of soil on your drive, but ordering too little is even more frustrating.
To make this incredibly simple, we’ve built a handy tool that does all the maths for you. Just enter the dimensions of your bed, and our calculator will tell you exactly how much soil you need, broken down by ingredient.
Want to see the maths behind it? Thankfully, the calculation is really simple.
To figure out the volume of your raised bed, you just need to measure three things and multiply them together. You’ll want to measure in metres to make the next part easy.
The formula is: Length x Width x Depth = Volume in cubic metres (m³)
Let’s use an example. Say you have a standard raised bed that is 1.2 metres long and 1 metre wide. You want to fill it to a depth of 30cm, which is 0.3 metres. The calculation would look like this:
1.2m (Length) x 1.0m (Width) x 0.3m (Depth) = 0.36m³
So, you need 0.36 cubic metres of total mix to fill your bed. Since soil materials are often sold by the litre (especially in bags), it’s handy to know that 1 cubic metre is equal to 1000 litres. This means you need 360 litres of your finished soil mix. You can then use your 60/30/10 ratio to work out how many litres of topsoil, compost, and aeration material to get.
Our calculator gives you the exact figures, but a little word of advice from someone who’s been there: it is always better to have a little bit left over than to be a shovel-full short. Soil settles over time, and any extra can be used to top up pots or improve another patch of the garden. So maybe round up your numbers just a touch.
A Few Final Tips from a Mate
You’re pretty much there. You’ve got the theory, the recipe, and the measurements sorted. Before you rush off to start mixing, here are just a couple of extra raised bed tips you pick up after doing this a few times. Think of these as the little details that make a big difference to your gardening success.
What About a Weed Barrier?
If your raised bed is sitting directly on lawn or a weedy patch of ground, you might worry about unwanted visitors trying to grow up from below. An easy and brilliant solution is to line the bottom of the bed before you add any soil. Don’t reach for plastic sheeting though. The best thing to use is plain brown cardboard. Lay it flat across the entire bottom of the bed, overlapping the edges. This cardboard layer will act as a weed barrier for the first critical season, smothering whatever is beneath. Then, over time, it will simply rot down, adding a bit of organic matter to your soil and allowing plant roots to eventually travel deeper if they wish. It’s a free, simple, and very effective trick.
Topping Up Your Beds Each Season
A productive raised bed is a hungry one. Over the course of a year, your plants will take up a lot of the goodness from that beautiful compost you added. The soil level will also naturally sink a bit as the organic matter breaks down. This is perfectly normal. To keep your bed performing at its best, you’ll need to do a little topping up. Each spring, before you start planting a new crop, it’s a fantastic idea to add a fresh layer of compost, about 5cm to 10cm deep, over the entire surface. You can just gently fork it into the top layer of existing soil. This simple act replenishes the lost nutrients, improves the soil’s structure, and gets your bed ready for another bountiful year.
Get Growing!
And there you have it. The secret to a fantastic raised bed isn’t really a secret at all. It’s just about taking a moment to think about what you’re putting inside those four walls. While it might be tempting to fill it with the cheapest or easiest option, spending a little time creating a quality raised bed soil is the single best investment you can make. It’s the difference between a few sad looking plants and a truly bountiful garden.
Now that you have the simple recipe and the know how, you’re all set. The foundation for your most successful growing season ever is right at your fingertips.
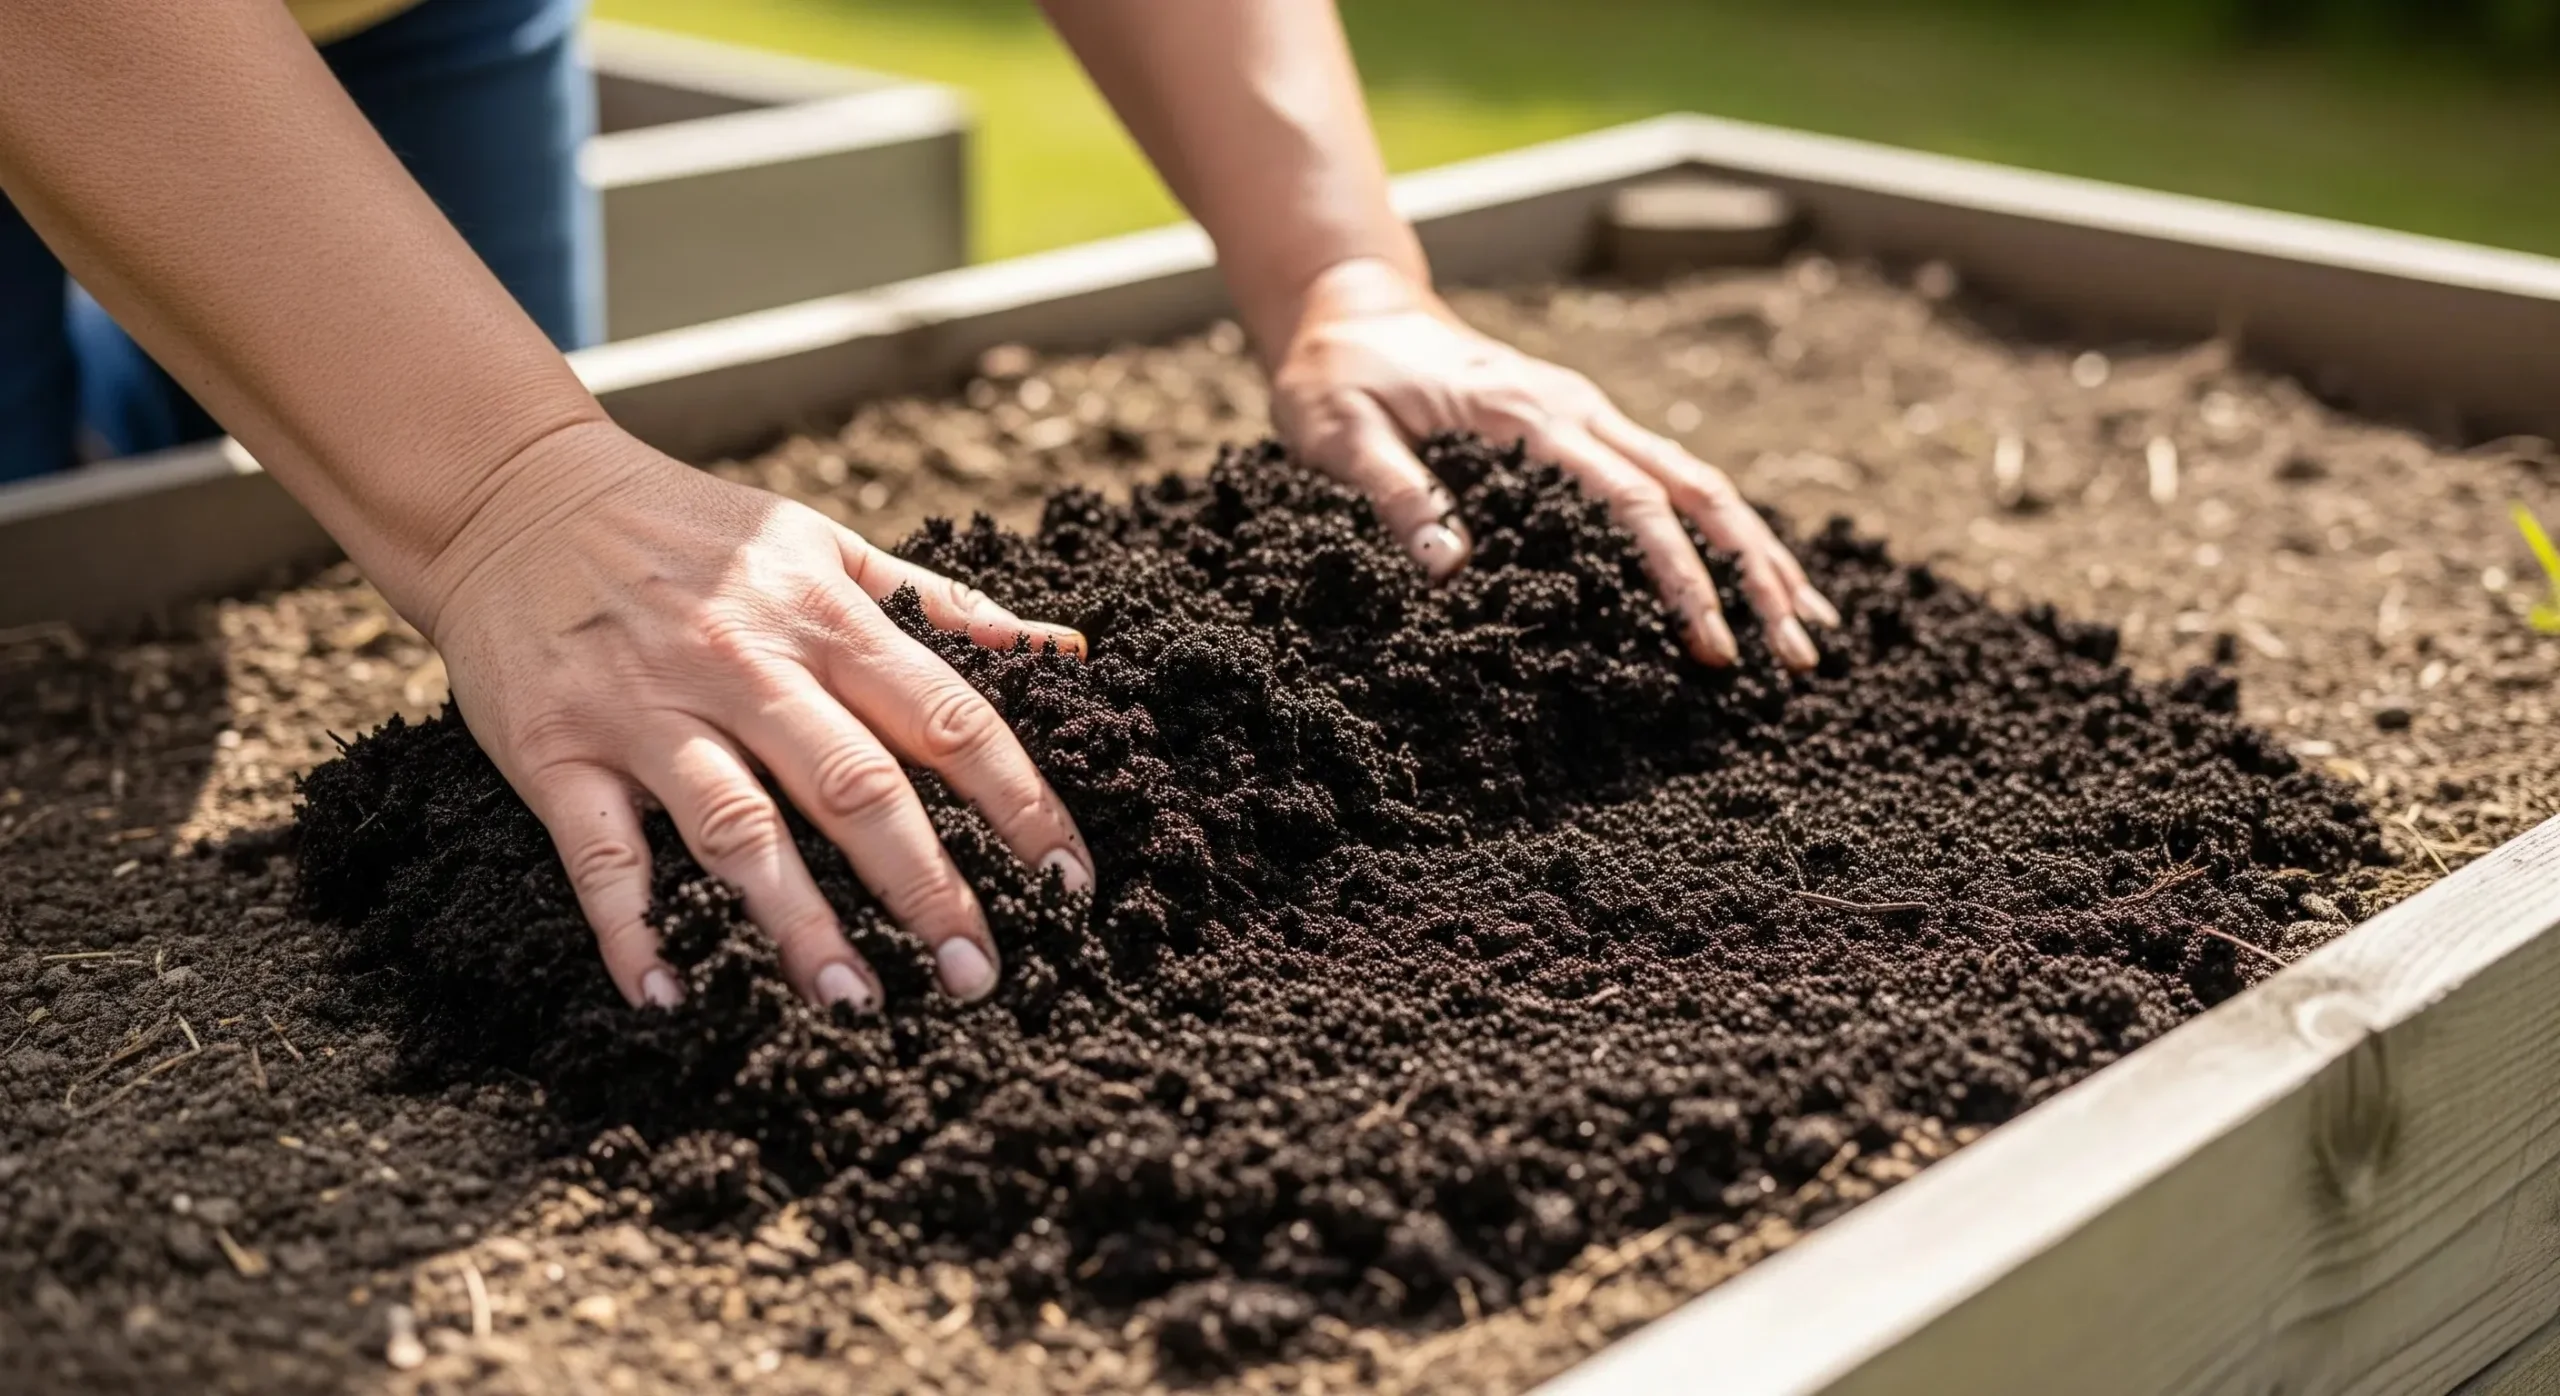
Each spring, before planting, add a 5-10cm layer of fresh compost to replenish the nutrients used by last year’s crop.
Ready to build your perfect mix?
Feeling inspired and ready to get your hands dirty? We’ve got the quality ingredients you need to get started. Have a look at our range of screened topsoil and nutrient rich compost, and get your raised bed project off to a flying start today.